Managing your product reviews on EchoBrain
EchoBrain makes it easy for you to collect and display verified reviews for your product on your site. Here are some aspects of this experience that you can control within your EchoBrain dashboard
Make your reviews visible by publishing them
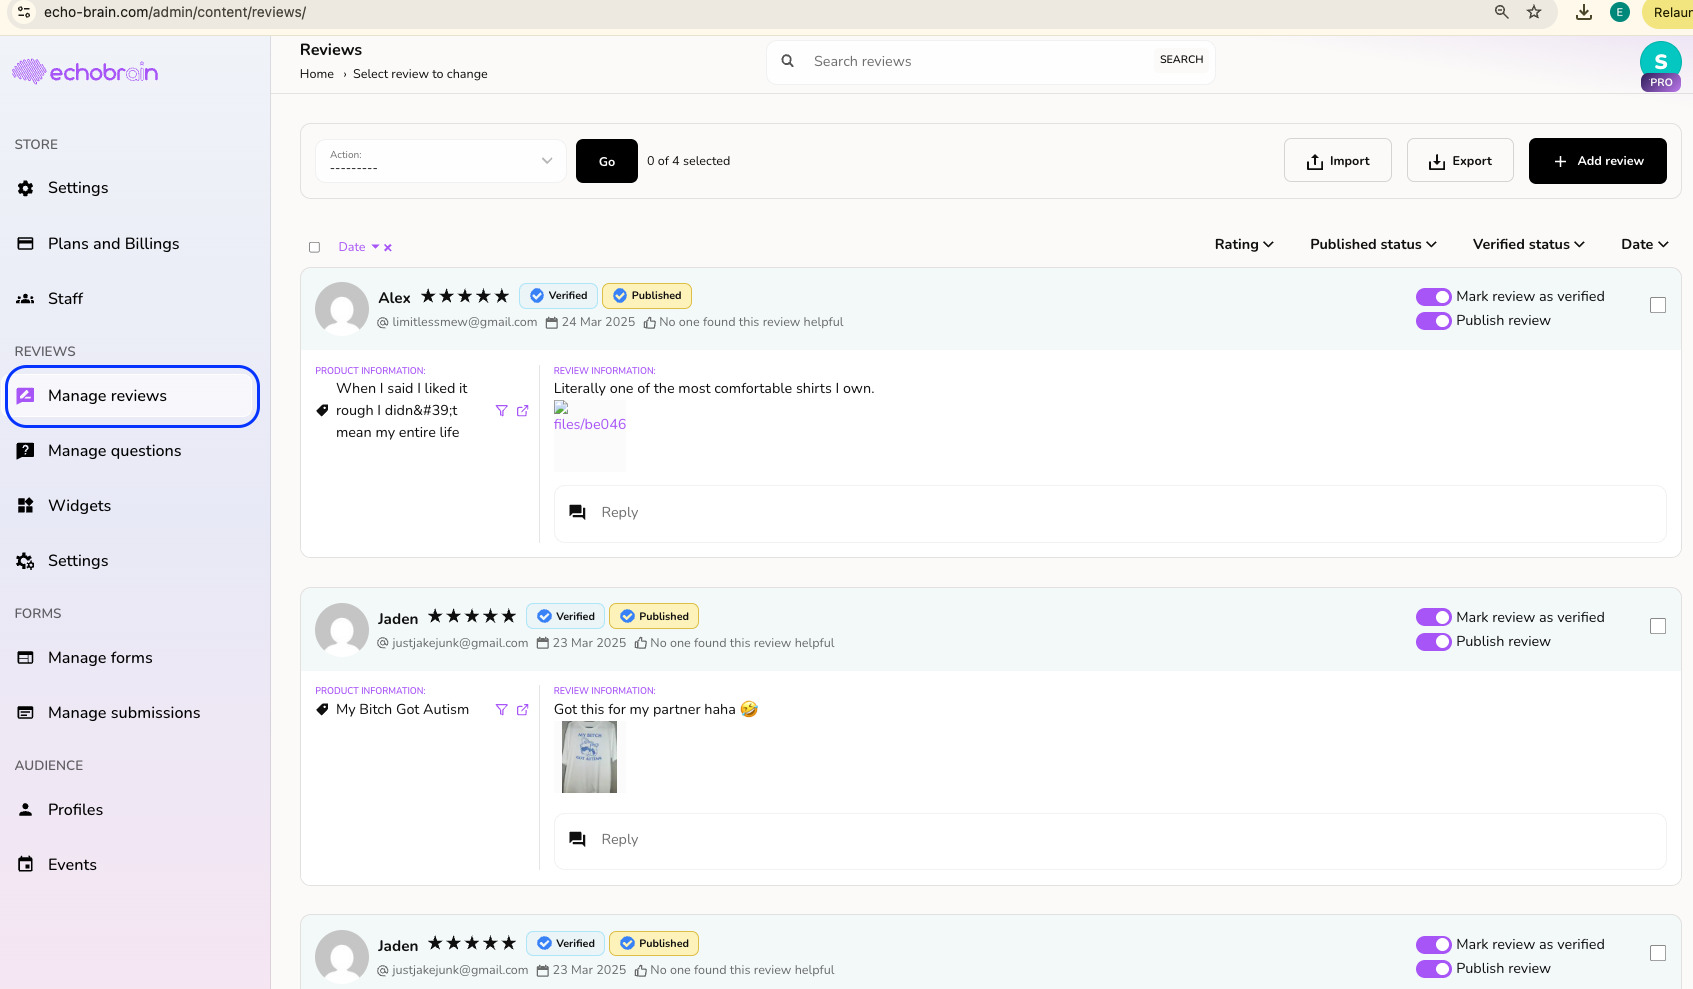
Go into your EchoBrain dashboard and click on “Manage Reviews” under “Reviews” on the left-side bar to see all the reviews submitted for your products and shop. Here, you will see both verified and unverified reviews.
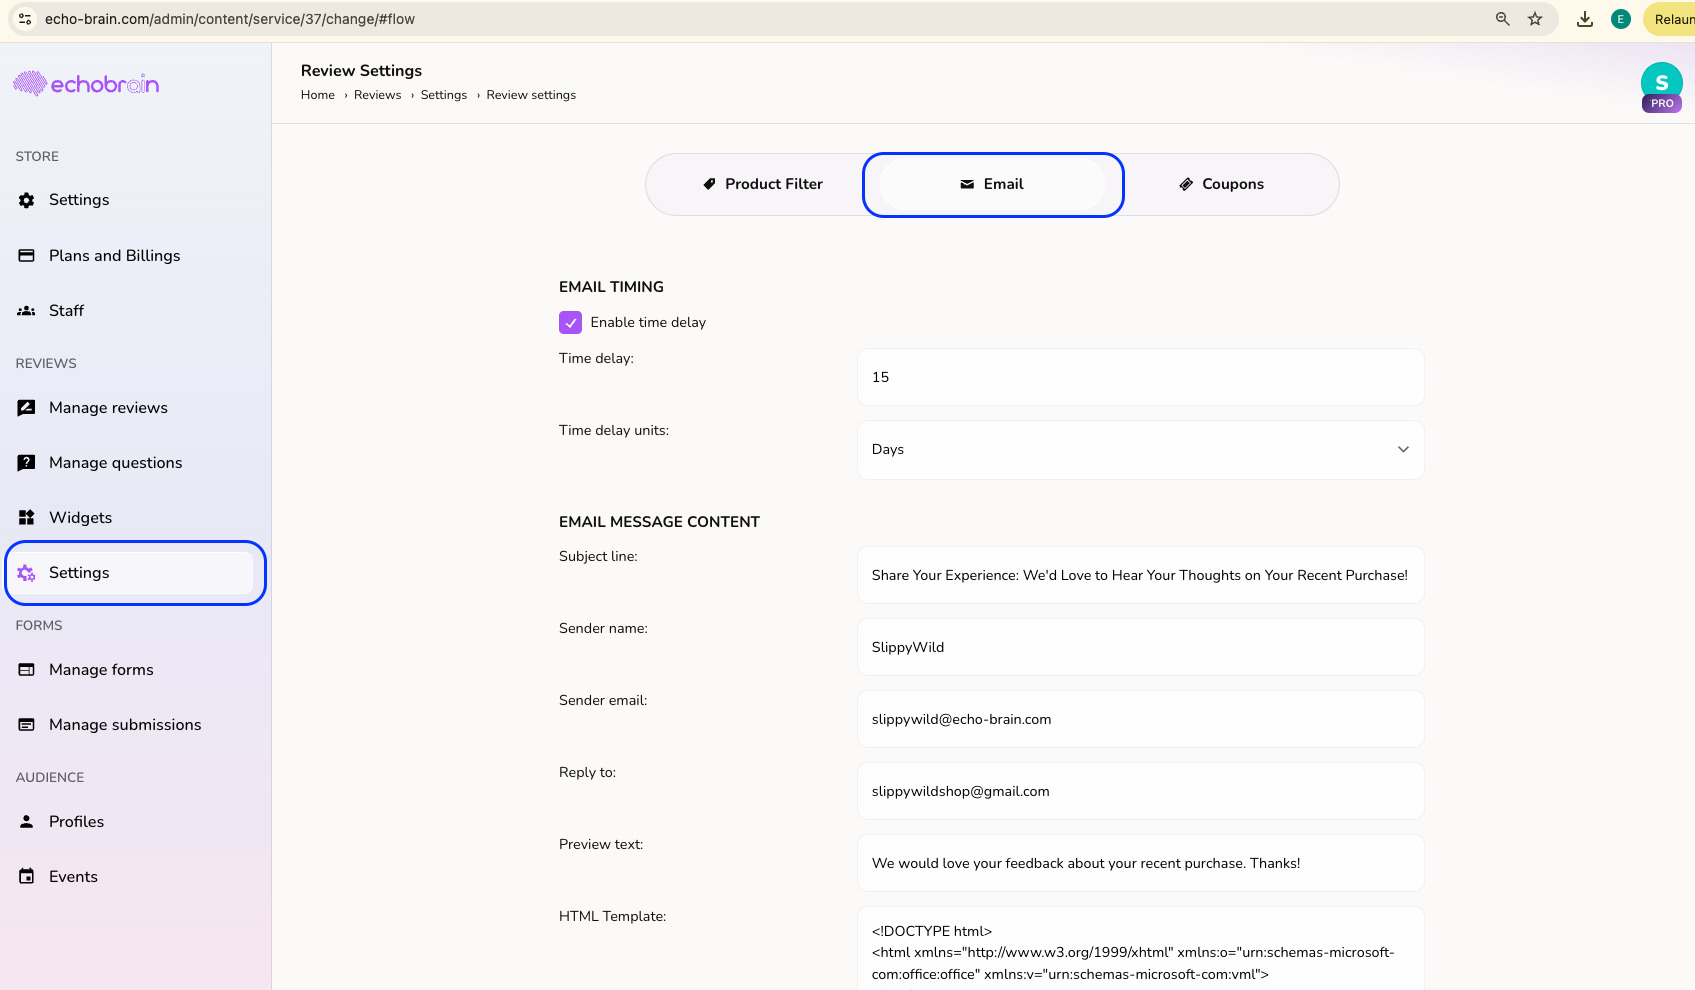
Verified Reviews: Verified reviews are reviews that come from a real order. They are collected through the link in the review request email EchoBrain sends to actual buyers of your products. That link is tied to the buyer’s order, so EchoBrain can confirm the purchase and verify the review automatically. This email is sent to buyers about 15 days after purchase, but this number can be adjusted. To learn more about how to adjust the number of days after which EchoBrain will send review request emails to buyers, click here. Verified reviews display the “Verified Buyer” badge once published.
Verified by store: Reviews that you had previously marked as verified yourself (including reviews you imported or created manually and marked as verified) are not linked to an order, so EchoBrain can no longer vouch for them. They keep their place in your list and still count toward your ratings, but they now show a “Verified by store” label instead of the “Verified Buyer” badge. This label tells shoppers that you, not EchoBrain, vouch for that customer. Nothing was deleted or hidden.
Unverified Reviews: Unverified reviews are reviews that are collected in any other way: submitted by visitors through the review widget on your product page, or added manually from the dashboard or through an import. These show no verification label because it’s not confirmed that they came from people who actually bought the product.
In the reviews list, every review shows a status badge — “Verified” or “Verified by store” — in its header, so you can tell them apart at a glance. Verification is automatic: the switch that used to let you mark a review as verified by hand (and the “Mark as verified” bulk action) has been removed, and a review can only become verified when it comes from an order link. If you need to remove the verified status from a review, turn off its “Verified” switch and confirm in the “Unverify this review?” window. Keep in mind that this can’t be undone from the dashboard — you won’t be able to mark that review as verified again manually.
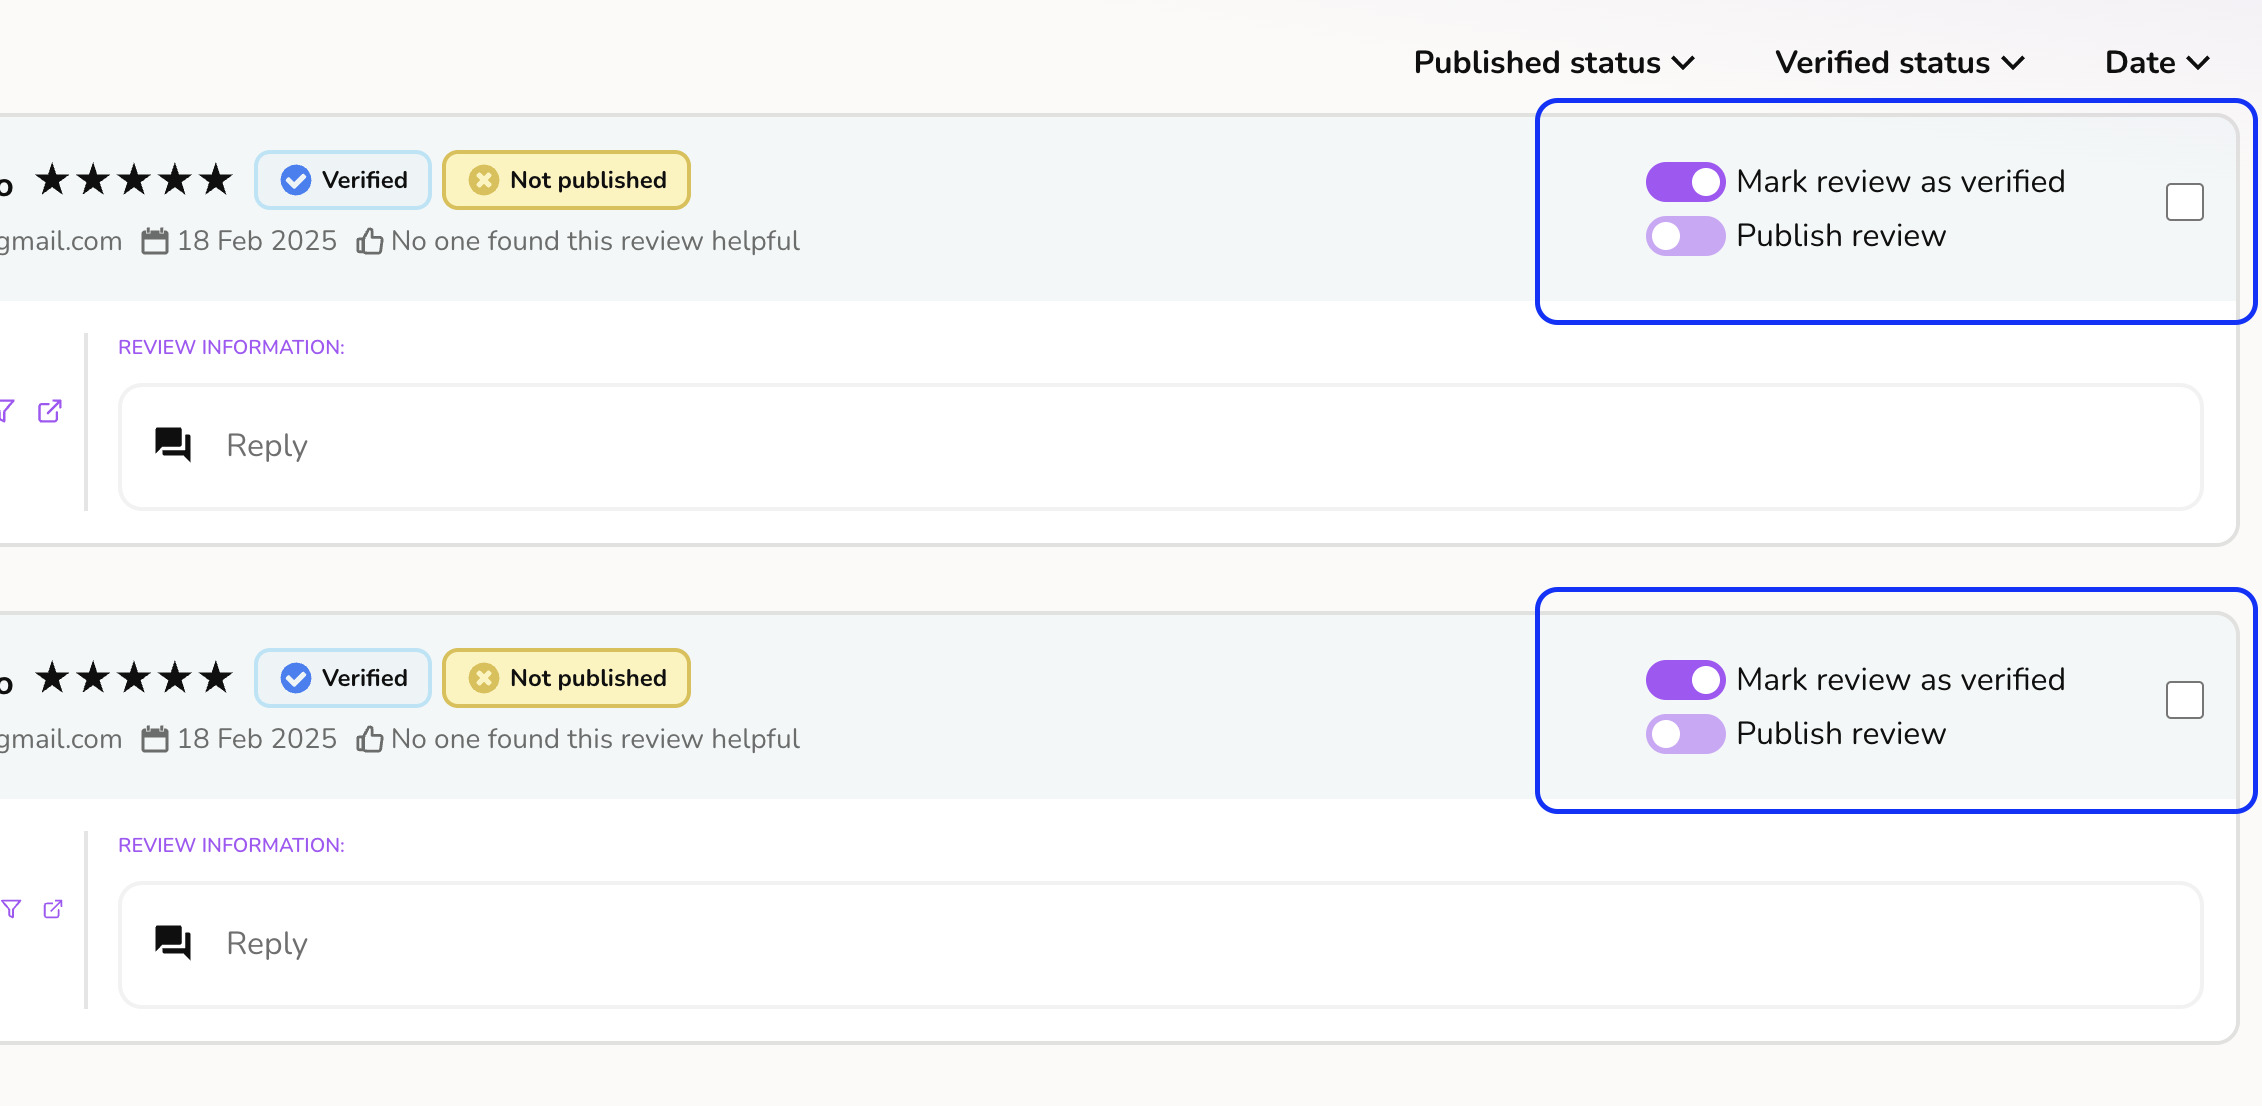
No reviews will be displayed on your site unless you explicitly make them visible by publishing them. You can do so by going into each review in the list of submitted reviews, and toggle the “Publish” switch. If you’re working with several reviews at once, select them with the checkboxes and use the “Publish” or “Unpublish” bulk actions at the top of the list instead.
How to publish reviews automatically?
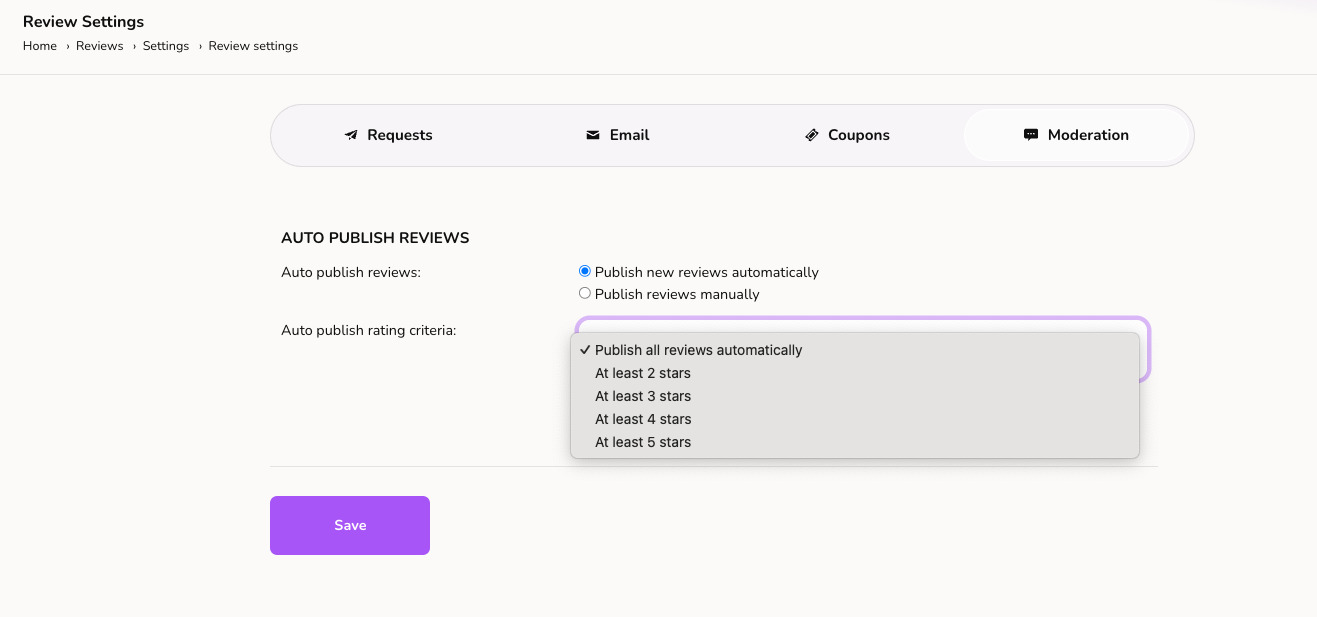
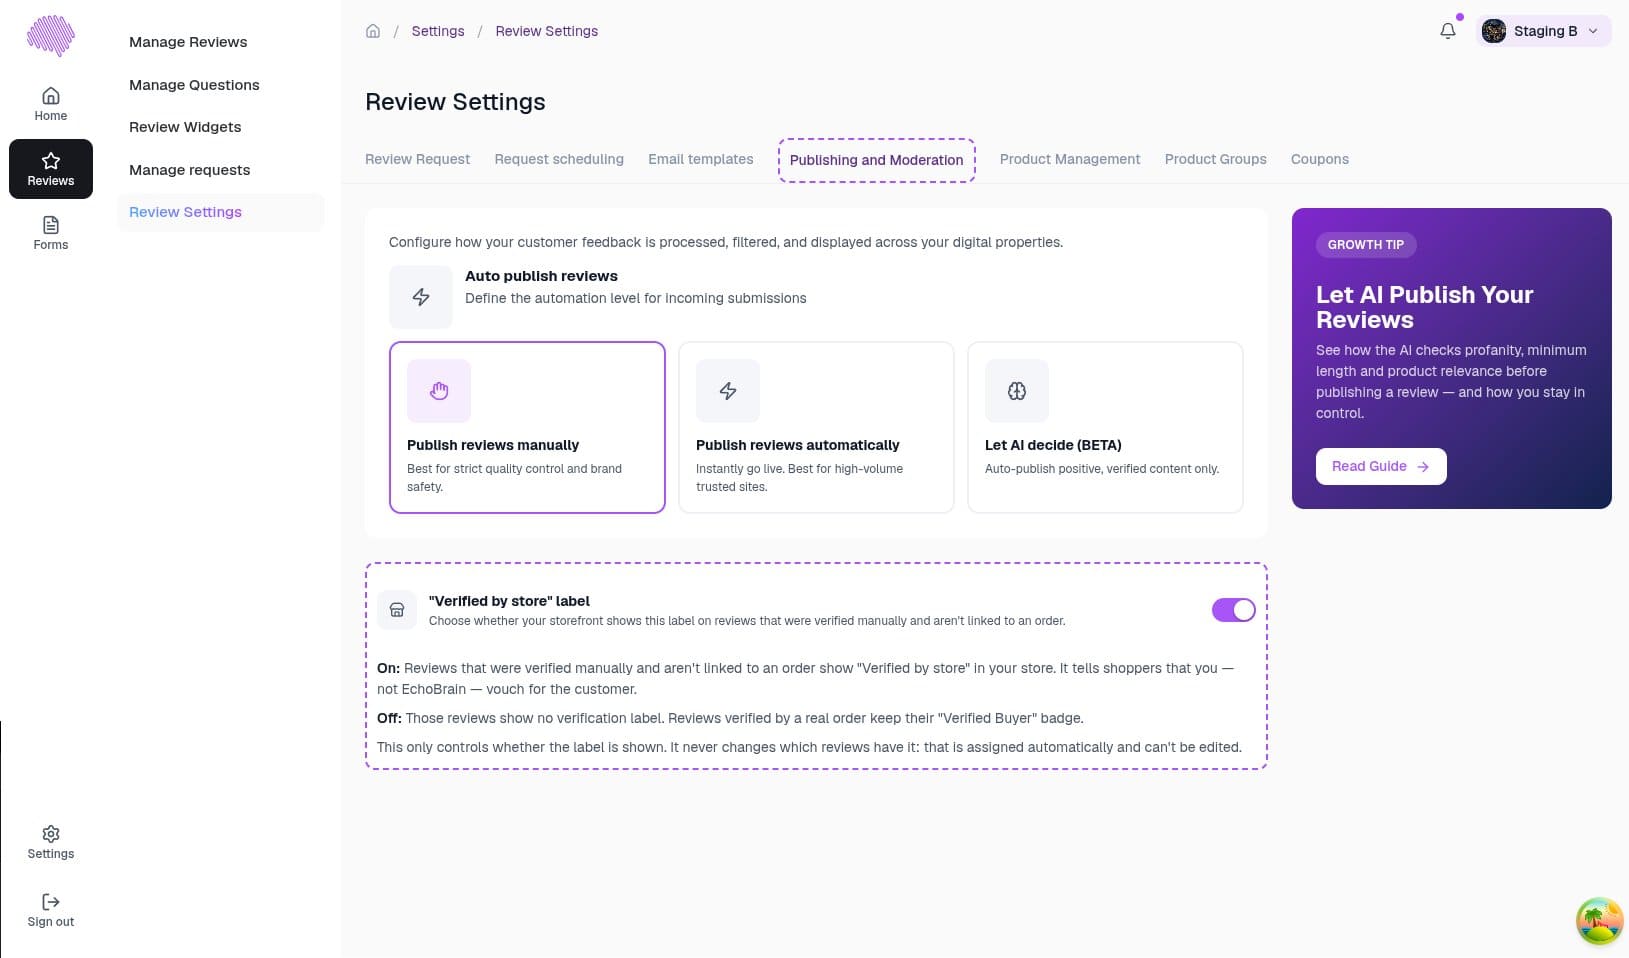
Go into your EchoBrain dashboard and click on “Review Settings” under “Reviews” on the left-side bar. Then, click on the “Publishing and Moderation” tab. You’ll see three options: “Publish reviews manually” (default), “Publish reviews automatically”, and “Let AI decide (BETA)”. Selecting “Publish reviews automatically” shows a combobox to choose the auto publish criteria — you can automatically publish all incoming reviews, or only those meeting a minimum star rating. The AI option instead evaluates each review’s content, sentiment, and relevance before deciding whether to publish it — see our Auto-publish Reviews with AI guide for details.
Show or hide the “Verified by store” label
On that same “Publishing and Moderation” tab you’ll find the “Verified by store” label setting, which is turned on by default. It controls whether your storefront shows the “Verified by store” label on reviews that you verified manually in the past and that aren’t linked to an order.
- On: those reviews show “Verified by store” in your shop.
- Off: those reviews show no verification label at all. Reviews verified through a real order keep their “Verified Buyer” badge either way.
This setting only controls whether the label is displayed. It never changes which reviews have it — that is assigned automatically and can’t be edited.
Set colors and appearance of how your reviews are displayed
Your overall brand identity lives under Settings → Branding: your logo and four colors (Primary, Background, On background, On primary), synced automatically from your published Fourthwall theme. These values aren’t editable in EchoBrain — they’re read-only, with a Sync now button (once every 5 minutes) to pull in the latest theme changes. If you want to change any of these colors, you’ll need to update your theme from your shop’s Site Design in Fourthwall and then sync.
The one thing you can set directly in Branding is a Custom logo. This is entirely optional: if you upload one, it takes priority over your synced Fourthwall logo, but only in EchoBrain’s transactional emails (like review requests) — it doesn’t affect your widgets or your site. Leave it empty and EchoBrain will keep using your synced logo everywhere.
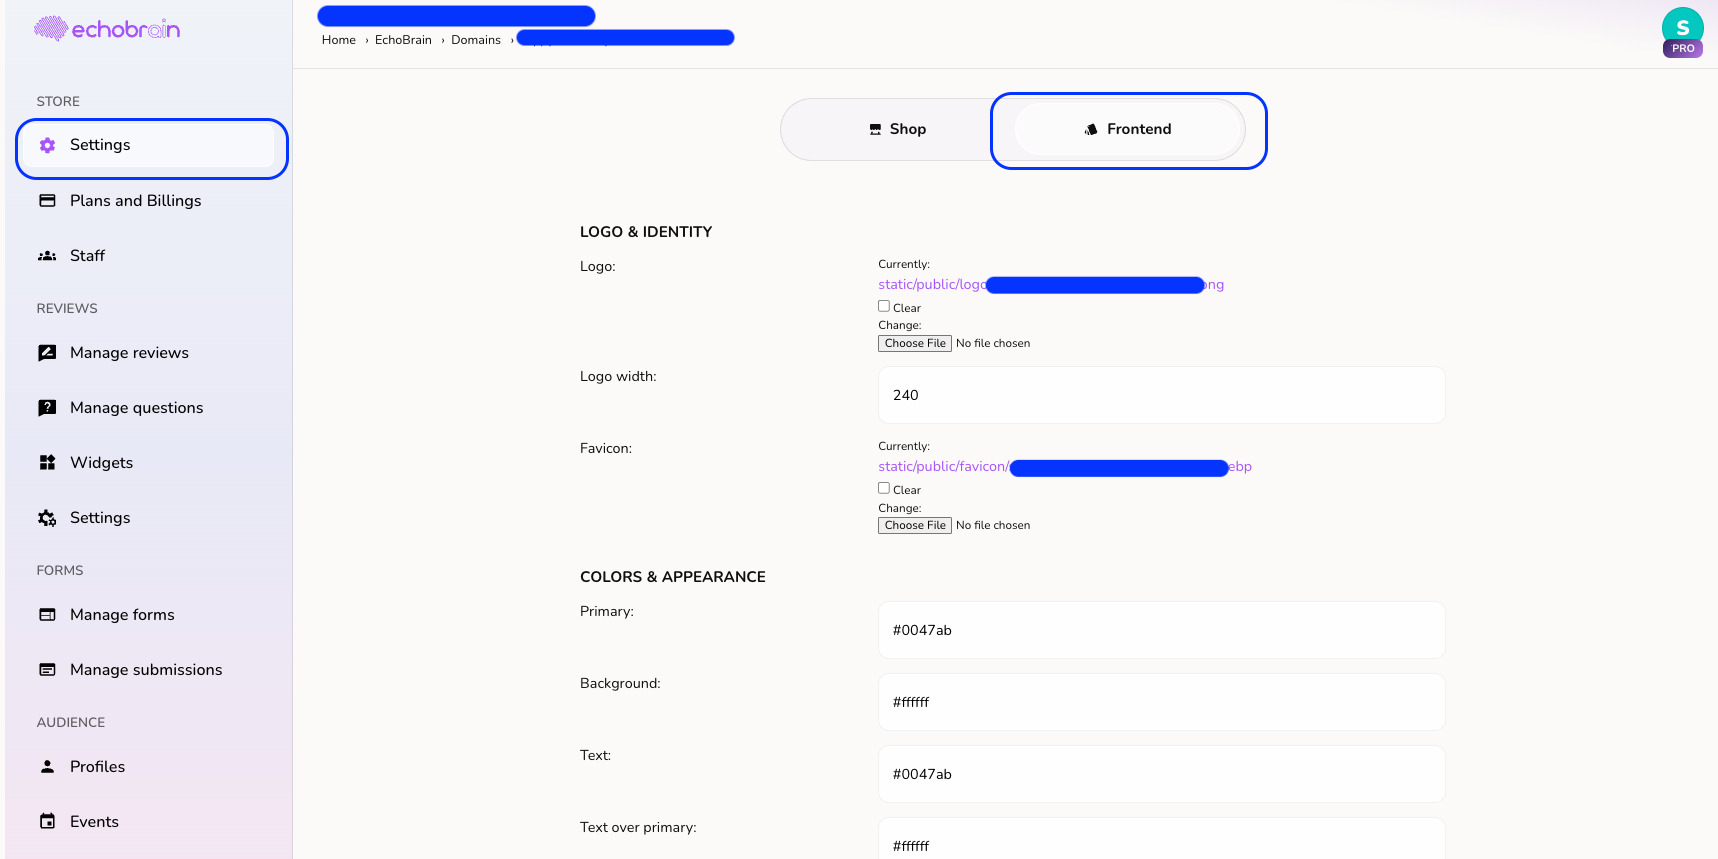
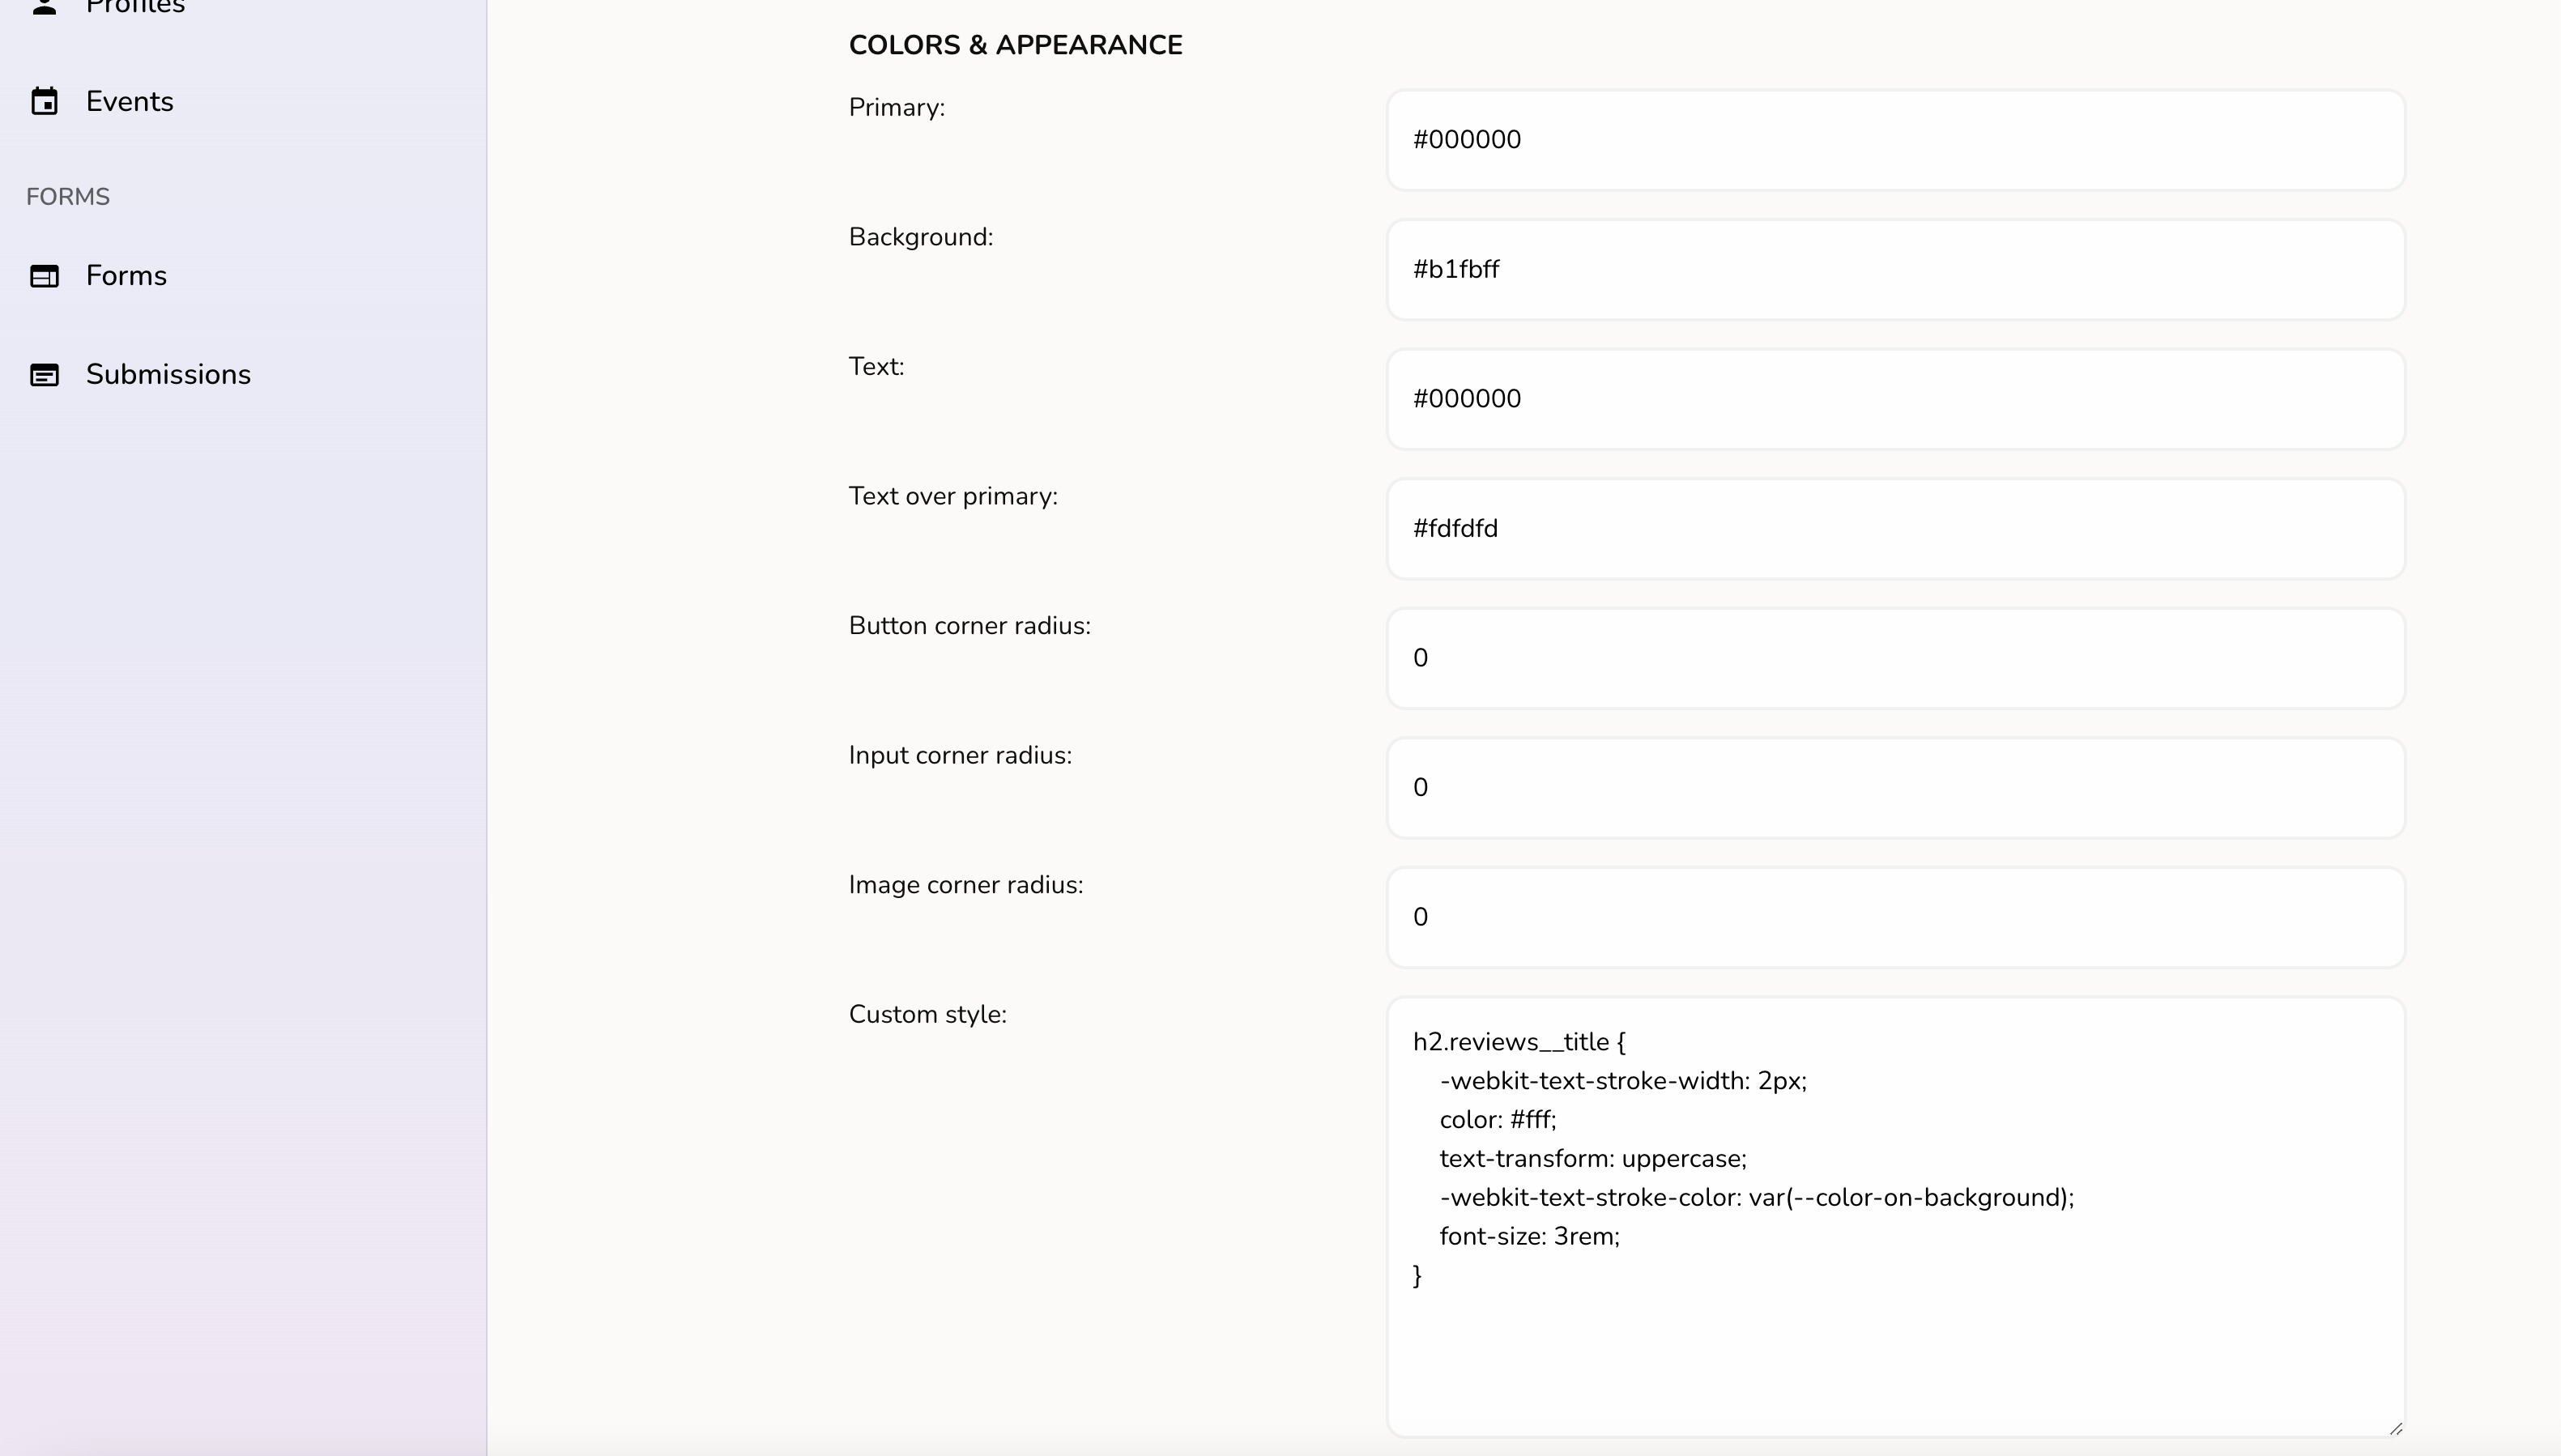
To adjust colors and appearance specifically for how a review widget renders on your site, go to Reviews → Review Widgets, click Customize on the widget you want to edit, and open the “Colors & Style” section. The only color you can set directly here is the Star Color — the color used for the star icons — and it’s optional: leave it empty and the widget follows your synced theme color instead. If you want to change anything else about the widget’s look, use the Custom CSS field under the “Advanced” section to style it yourself.
Set details of how your review widgets is displayed
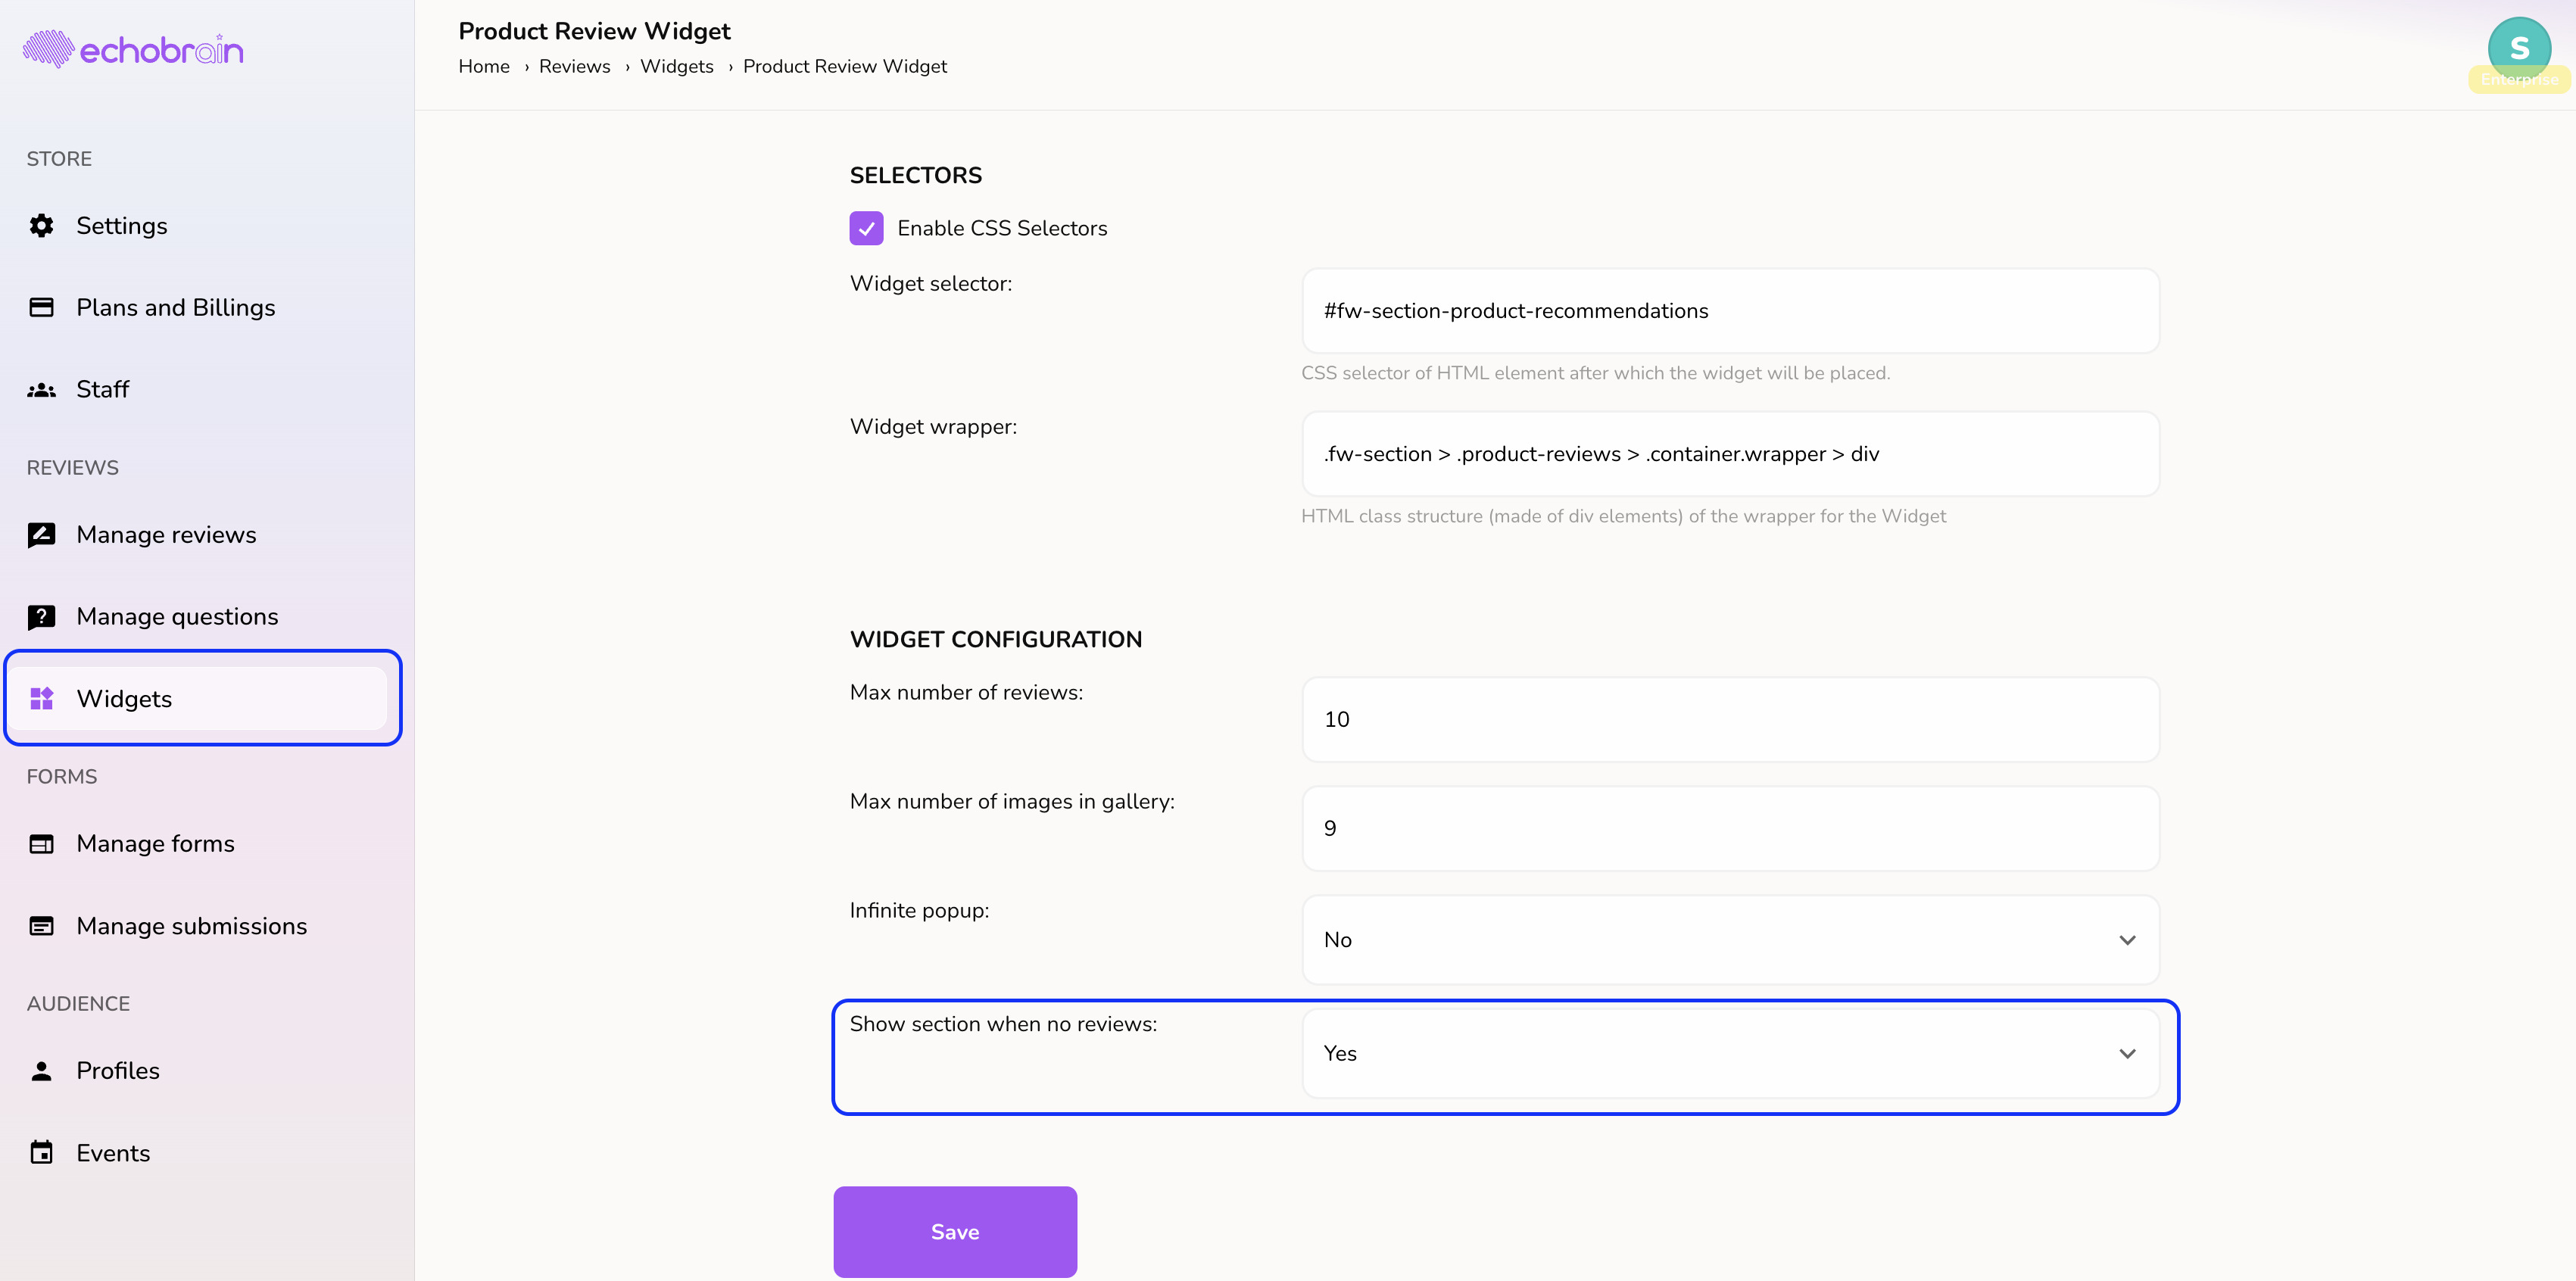
Log in to your EchoBrain dashboard and click on “Review Widgets” on the sidebar menu, under “Reviews”. Then, click Customize on the widget that you would like to configure. Depending on which widget you click on, you will be able to set values for the following:
- Layout: choose between “Default” or “Carousel” for how reviews are displayed.
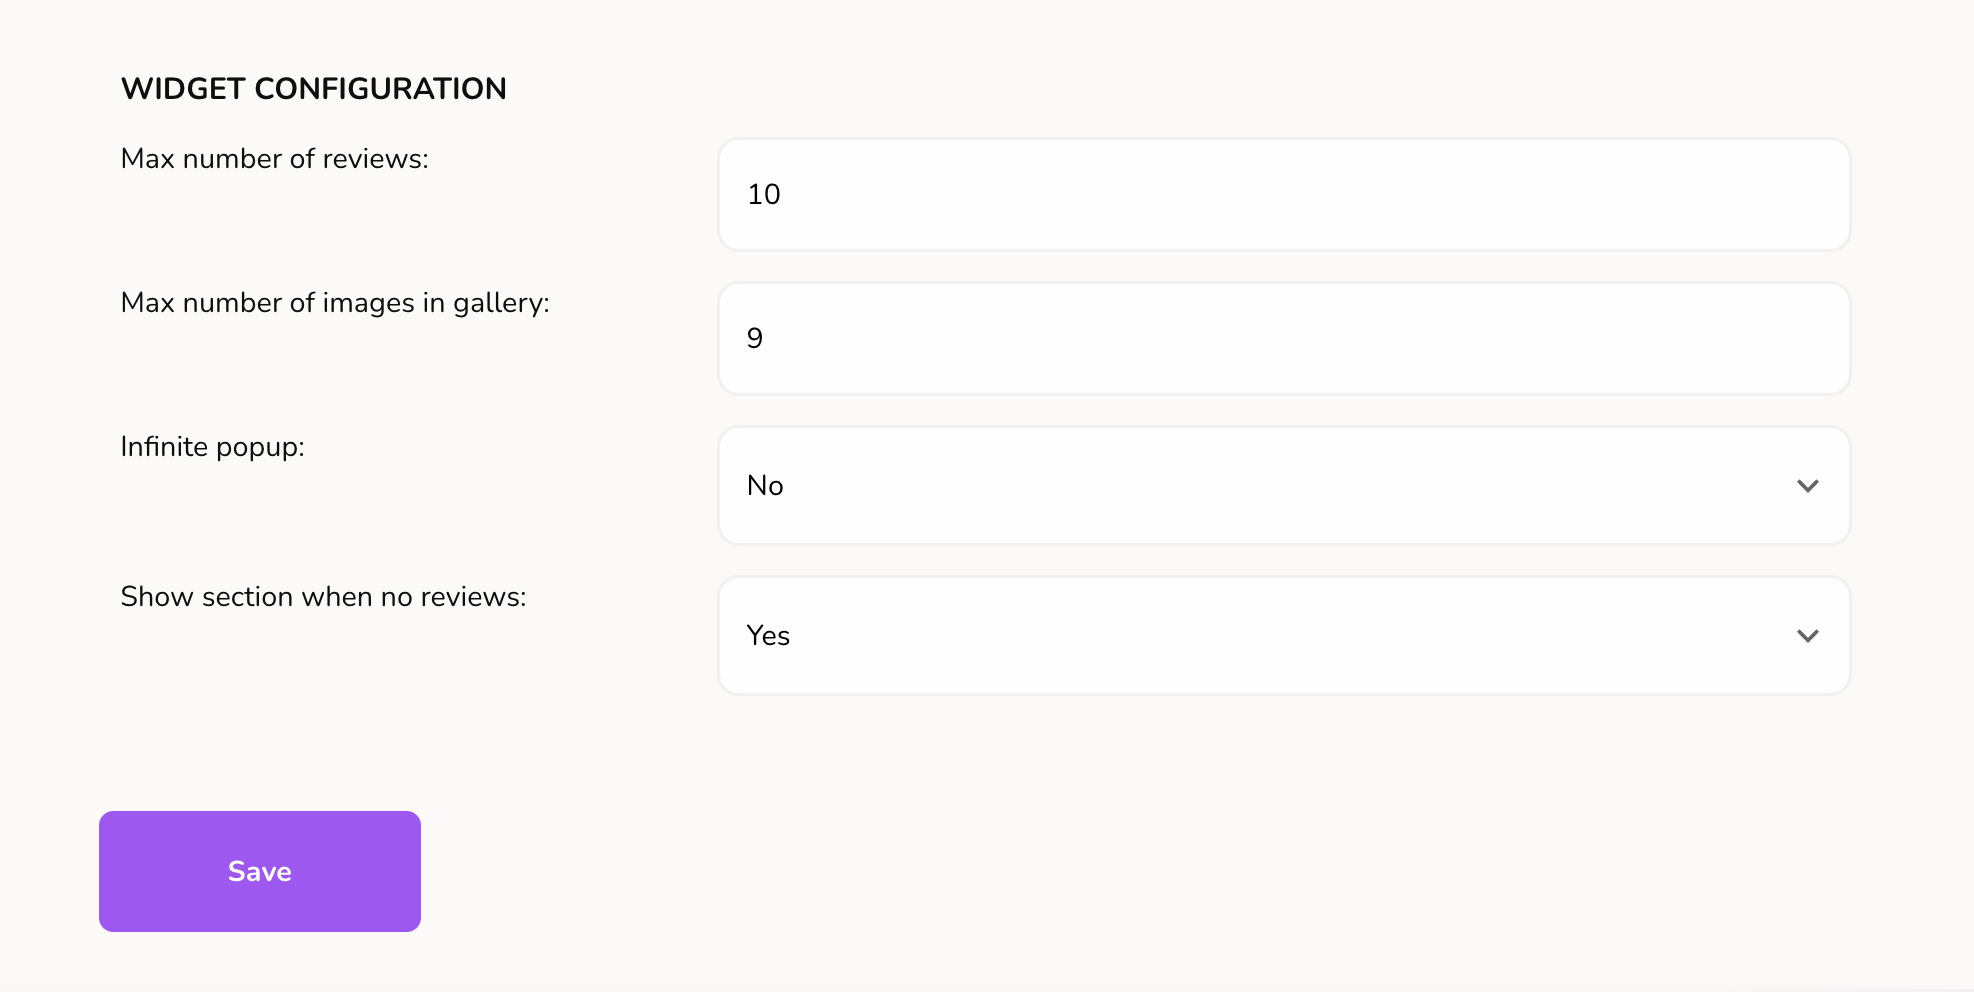
- Max number of reviews: the maximum number of reviews shown per page on the widget.
- Show media gallery / Max media items in gallery: whether to show a media gallery, and how many items to include.
- Show widget when there are at least these many reviews: set a minimum review count before the widget appears — set it to 0 if you want it to always show, even with no reviews yet.
- Display data (for Star Rating Badge widget): You can change how to show the Star Rating Badge widget – just the average, just the quantity (number of reviews), or the average and the quantity.
For a closer look at the Customize window itself, see our widget placement guide — it walks through the same panel shown below.
Prevent Product Review and General Review widget from showing up if my shop does not have any reviews yet
By default, when connecting EchoBrain to your shop and inserting EchoBrain’s snippet into your theme (after following these steps), the Product Review widget starts showing up on your product pages.
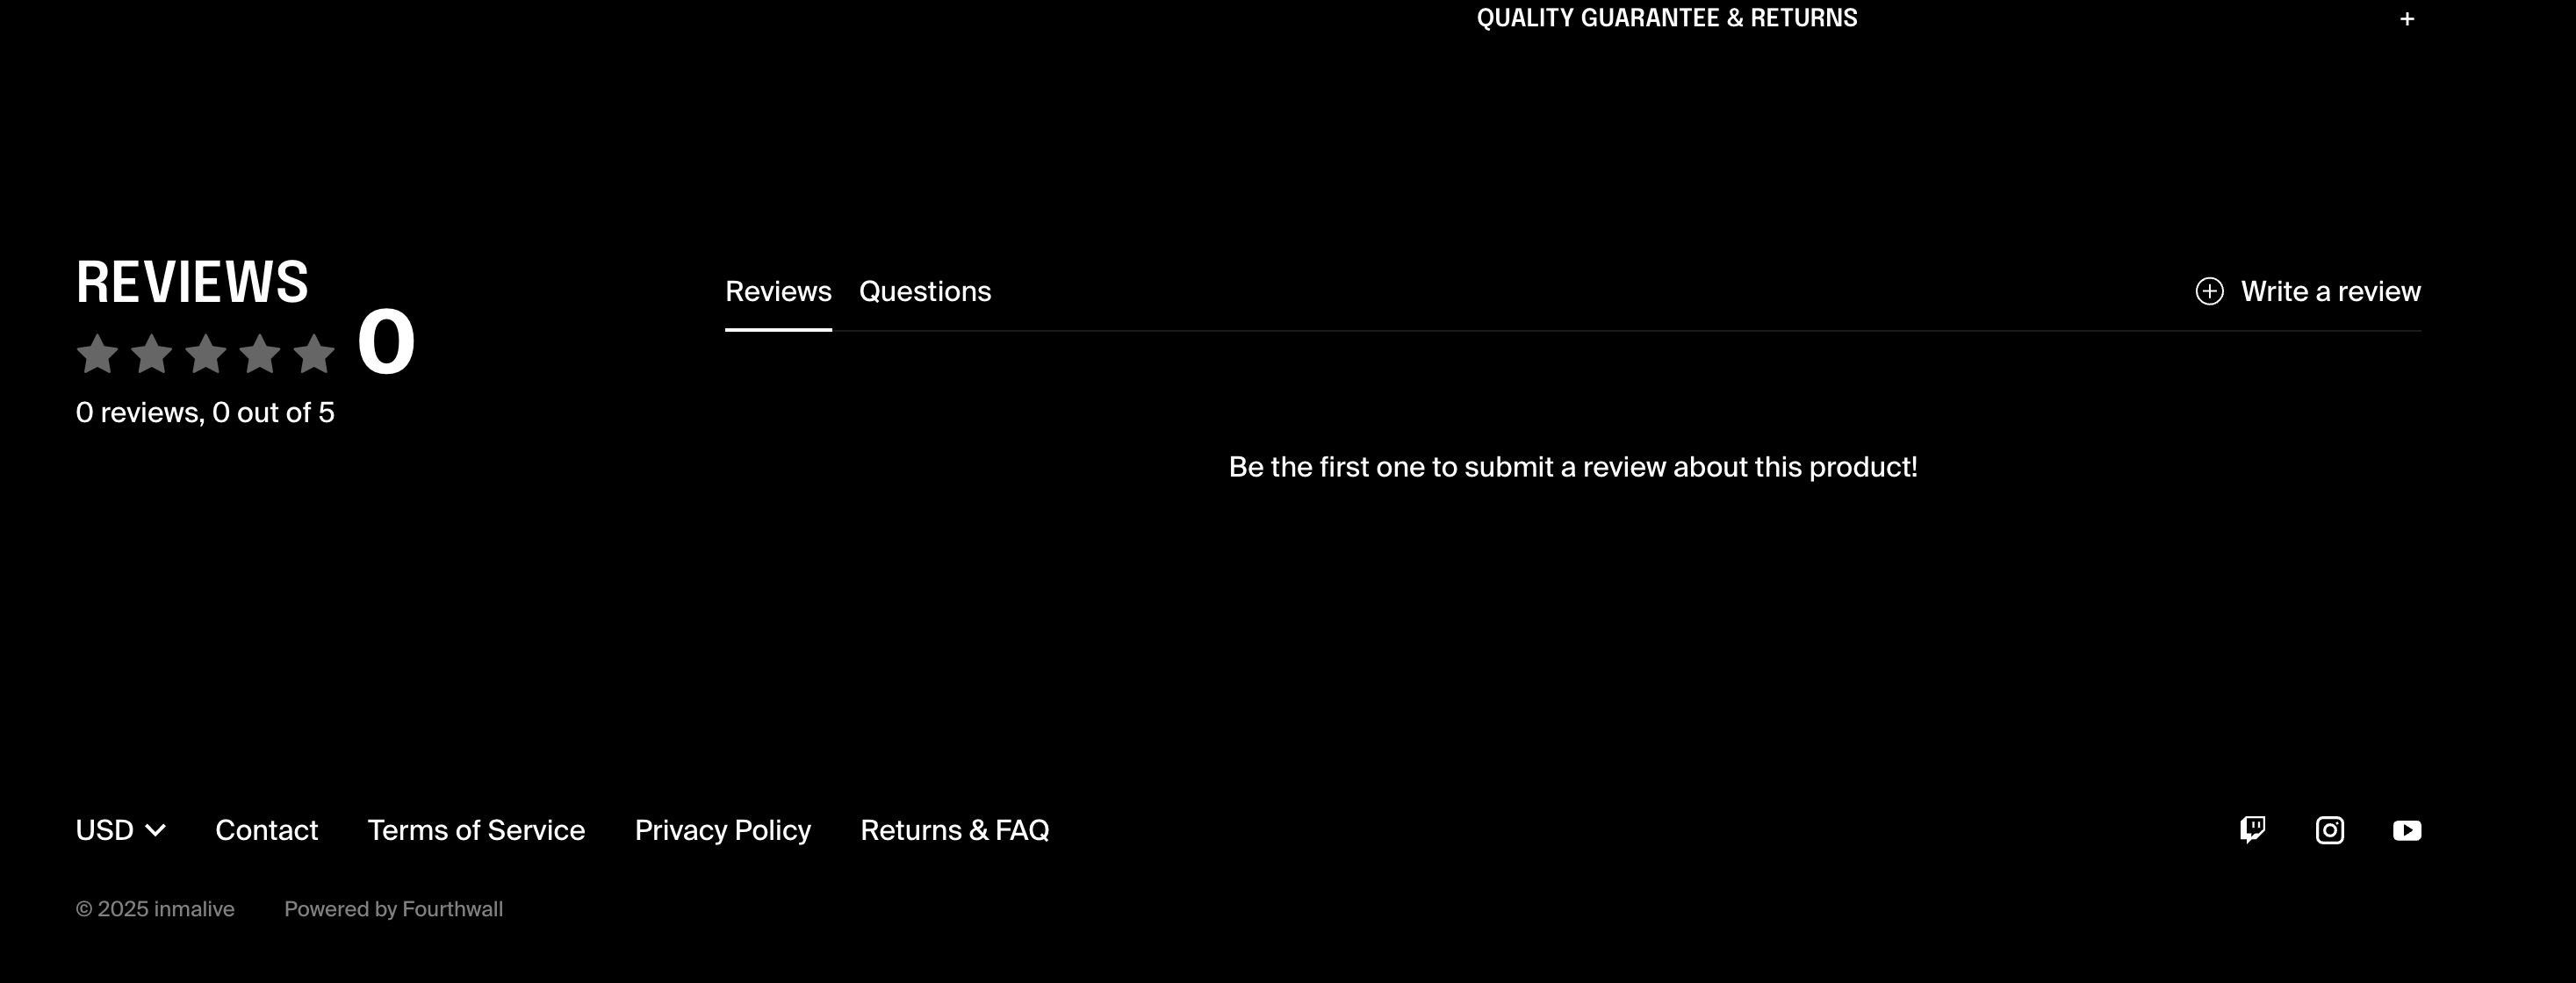
If you want to hide this widget while you start collecting reviews for your shop, you can click on “Review Widgets” on the left-side bar under “Reviews”, click Customize on the widget, and under “Display conditions” set “Show widget when there are at least these many reviews” to 1 (or higher). As soon as you publish enough reviews to meet that number, this widget will start showing up.
Set review request email settings
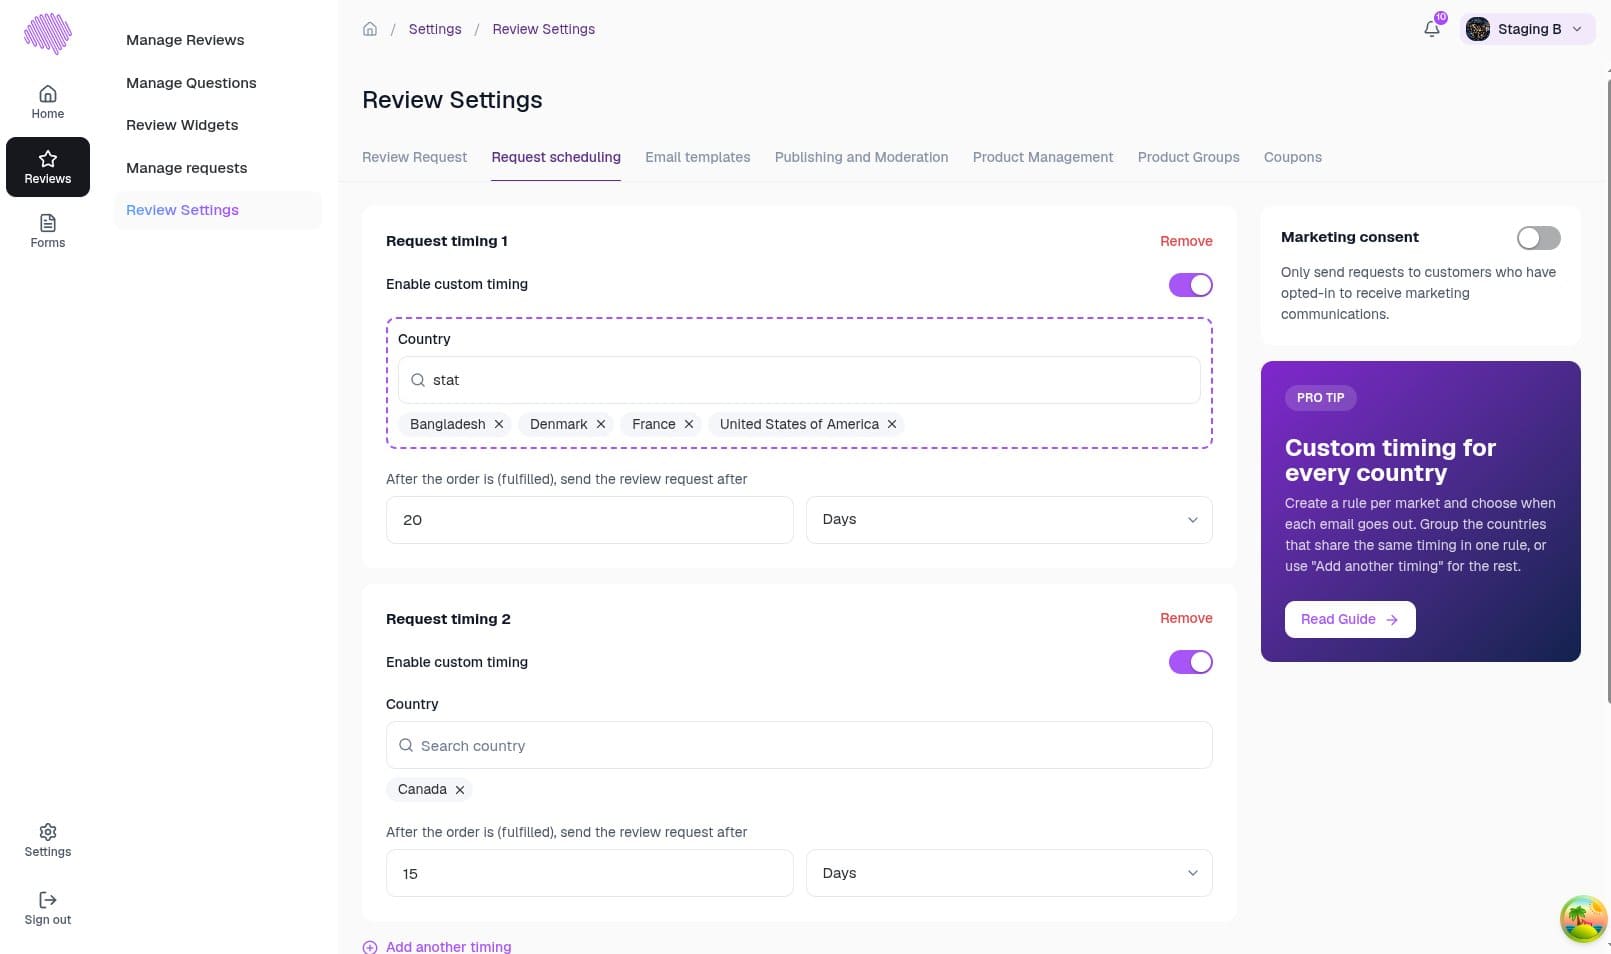
Log in to your EchoBrain dashboard and click on “Review Settings” on the sidebar menu, under “Reviews”. Request timing and email content now live on two separate tabs:
Request scheduling tab: Here you set up “Request timing” rules, each tied to a Country. Each rule sends the review request a number of minutes, hours, or days after the order is fulfilled — for example, 15 Days for United States orders. Use the Enable custom timing switch on each rule to turn it on or off (changes save instantly); only active rules send requests, and if none is active, no review requests are sent. Pick countries from a searchable list that hides countries already used by another rule. On the Standard plan you get one rule with one country; on Pro you can add more rules with “Add another timing” and group several countries, shown as chips, in a single rule. The last rule can’t be deleted. This tab also has a Review requests blocklist, where you can paste email addresses (one per line) that should never receive a review request, and a Marketing consent toggle to only send requests to customers who’ve opted in to marketing communications. For the full walkthrough, see Collecting Reviews.
Email templates tab: Here you edit the Subject line, Sender name, Reply to address, and Preview text for the review request email. Sender email is shown but grayed out — it’s tied to your sending domain and can’t be changed. The Email template (HTML) itself is a fixed, ready-made design you can preview but not edit directly.